SunStage Atlas — Survey, Install, Commissioning: What Happens at Every Stage of Home Solar Panel Installation

A step-by-step look at what occurs between signing paperwork and watching your meter move for the first time.

Most homeowners know panels go on the roof, but the weeks in between are where confusion starts. We document what a proper roof survey should capture, which lines belong on the project plan before you sign, who shows up on install day, and what papers should stay in your folder after handover — without comparing equipment brands or discussing financial outcomes.

Learn More

Roof Survey: What Gets Measured and What Must Land on the Plan

The survey is not a quick photo walk. It determines whether the layout you approve matches what can actually be built.

1

Roof Geometry and Shading Lines

A surveyor should record pitch, rafter direction, and obstructions such as vents, skylights, and chimney offsets. Shading from nearby trees or a second-story wall must appear as marked zones on the plan, not as a verbal note you forget later. If the drawing shows a full south-facing row but the survey photos reveal afternoon shade from a maple, that gap needs to be resolved before permits are filed.

Ask for the survey report as a separate document, not only the proposal layout. It should list measurement method, date, and which roof planes were considered viable. When two planes are combined on one drawing, each should be labeled so you know which section the crew will tackle first on install day.

2

Structural Notes and Attachment Zones

Attachment points depend on rafter spacing and roof material. The plan should indicate whether mounts sit on rafters or use approved deck-spreading hardware for your roof type. If the survey mentions soft decking, curled shingles, or prior patch work, those notes belong on the drawing so the install crew does not discover them mid-rail.

Homeowners are not expected to climb the roof, but you can ask where staging will sit and whether plywood protection is planned for high-traffic paths. A clear attachment legend on the plan reduces the chance of last-minute layout shifts when the first rail section does not align with the marked row.

Permit folder open on a kitchen table with a roof site plan, receipt clipped to the cover, and a highlighter on the inverter line

Project Paperwork: Lines and Schemas to Request Before You Sign

Paperwork is where vague statements become binding layout decisions. Before you approve the project, the plan set should show panel count per roof plane, inverter location, conduit path from roof to equipment, and disconnect placement. A one-page proposal sketch is not enough when a permit reviewer or inspector will compare the built system to stamped drawings.

Request a single-line diagram even if it feels technical. It shows how strings connect and where the production meter or gateway will sit. If battery storage is discussed, the diagram should indicate whether backup circuits are isolated or whole-home — ambiguity here causes rework after the crew leaves.

  • Stamped layout with fire setback dimensions marked per local code references
  • Equipment schedule listing model numbers without brand comparison commentary
  • Permit application copy showing jurisdiction and expected inspection sequence

Install Day on the Roof: Crew Roles and What to Leave Unblocked

The roof crew and the garage crew often arrive as separate teams. Knowing who does what keeps you from blocking the one path they need.

Roof Team: Rails, Flashing, Panel Hang

Expect noise from drilling and periodic trips to load rails. The lead installer should walk the planned row before the first mount goes in. Keep driveway access clear for material drops and avoid parking under overhead work zones. If pets roam the yard, plan to keep them inside — dropped hardware and extension cords are common on install day.

Garage or Basement: Inverter and Conduit

Inverter placement needs ventilation clearance and a path for conduit from the roof penetration. The electrical team may need the main panel area accessible for several hours. This is licensed work — do not attempt to move breakers or open the panel cover yourself. Ask where the rapid shutdown switch will be and whether you need to relocate stored items before they arrive.

End-of-Day Walkthrough With the Lead

Before the crew packs up, confirm which sections are complete and what remains for a return visit. Photos of completed rows help if weather delays the second day. Note whether the system is left de-energized — it should be — and whether any interior wall cuts are sealed temporarily. Install day is not commissioning; the meter may not move until inspections pass.

What Our Walkthrough Records Show

These figures come from documented home install timelines we have tracked with homeowners — not commercial projections.

0 Home walkthroughs documented
0 Install checkpoints mapped
0 Stage guides published
0 Years tracking real timelines

Counts reflect documented reader inquiries where homeowners shared permit dates, inspection outcomes, and handover documents. Timelines vary by utility territory and local permit offices.

Recent Guides from the Field

Practical notes from recent walkthroughs — focused on one stage or one document at a time.

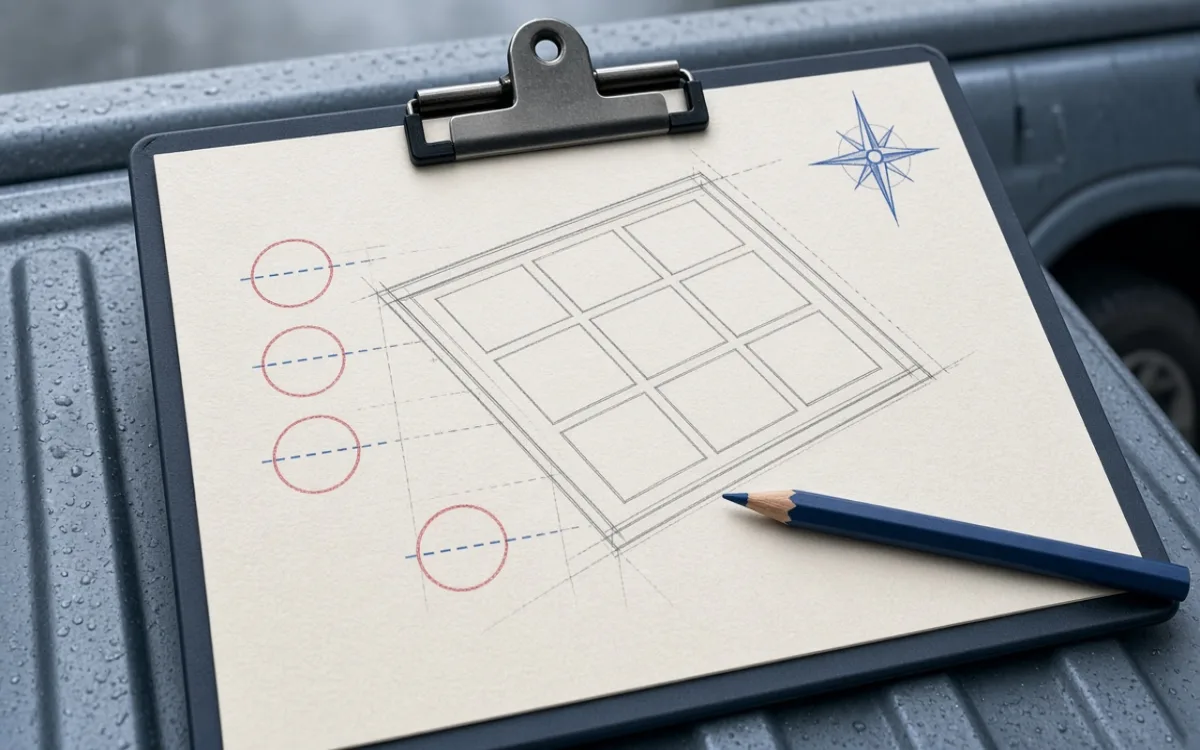
Roof survey plan on a clipboard with pencil marks around rafter notes and panel row outlines
4 min read By Marcus Chen

What Should Appear on Your Roof Survey Plan Before You Approve the Layout

A homeowner in Colorado signed off on a clean-looking layout, then noticed the survey never marked a dormer shadow that shortened the afternoon row. We list the five line items that should be on every survey drawing — including rafter notes and attachment zones — so the plan matches what the crew can actually build.

Read Article
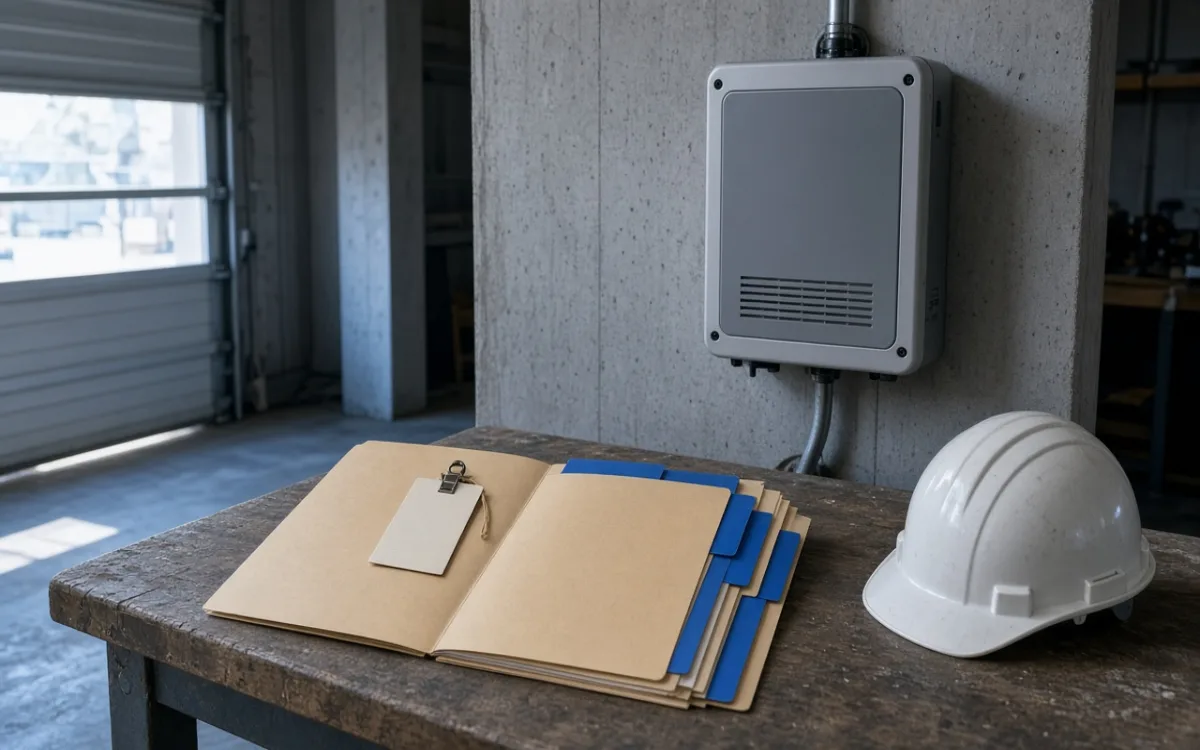
Handover folder open on a garage workbench with an inspection tag, hard hat, and wall-mounted inverter behind
5 min read By Elena Whitmore

Handover Checklist: Documents to Request When the Install Crew Leaves

The panels were mounted and the truck was gone, but the homeowner had no as-built diagram and no shutdown procedure card. We walk through the folder contents that should stay with you after sign-off — warranty registrations, inspection stickers, and inverter settings — before the utility sets the meter to bidirectional mode.

Read Article

What Homeowners Tell Us After Their First Month

These accounts focus on process clarity — not equipment brands or production totals.

I thought install day was the finish line. Your walkthrough explained why my meter sat still for three weeks while the city and the utility each scheduled separate inspections. Having a checklist for which phone number to call at each step kept me from blaming the roof crew for a delay they could not control.

Diane Kowalski

Registered Nurse, Mesa, Arizona

The survey drawing I signed did not show the garage wall where conduit would enter. When the electrical team asked to route through my finished laundry room, I had no document to point to. After reading your paperwork section, I requested a revised single-line diagram before the permit went in — and caught a disconnect location that would have blocked my storage shelves.

Robert Tran

High School Teacher, Portland, Oregon

Nobody told me the first two weeks of output would look low compared to midsummer charts online. Your note about seasonal angle and partial tree shade matched what I saw on my monitoring app. I stopped worrying about a faulty install and instead scheduled a follow-up trim for one branch the survey had marked as a future shade risk.

Margaret Liu

Small Business Owner, Raleigh, North Carolina

Not Sure Which Stage Your Project Is In?

Describe where your install stands — waiting on permits, mid-roof work, or post-inspection — and our guides can help you identify the documents and checkpoints that matter right now. We publish educational material about home solar install stages and respond to written inquiries.

Contact Us

Important Information About This Site

The materials on SunStage Atlas are provided for informational and educational purposes. They explain how home solar panel installation typically unfolds and help you prepare questions for licensed professionals working on your property. Content here is not a substitute for on-site evaluation by qualified installers, electricians, or structural engineers.

SunStage Atlas is not a solar installation company. We do not dispatch crews to mount panels, schedule install dates, or prepare cost estimates for your roof. We are not a retail seller of panels, inverters, batteries, or related hardware, and we do not compare brands or models. Nothing on this site should be read as financial advice, performance forecasts, or claims about future utility bills or energy output.

Utility interconnection rules, tariff structures, and incentive programs change by state and service territory. Verify current requirements directly with your utility provider and local permitting office. Grid tie-in, work inside your electrical panel, and assessment of roof load capacity must be performed by appropriately licensed specialists in your jurisdiction.

Every home and crew operates differently. Permit review times, inspection sequences, and handover documents vary, so timelines described on other projects may not match yours. You are responsible for decisions about system sizing, contractor selection, and how you use the information presented here. SunStage Atlas accepts no liability for outcomes based on self-directed choices made without professional guidance.